

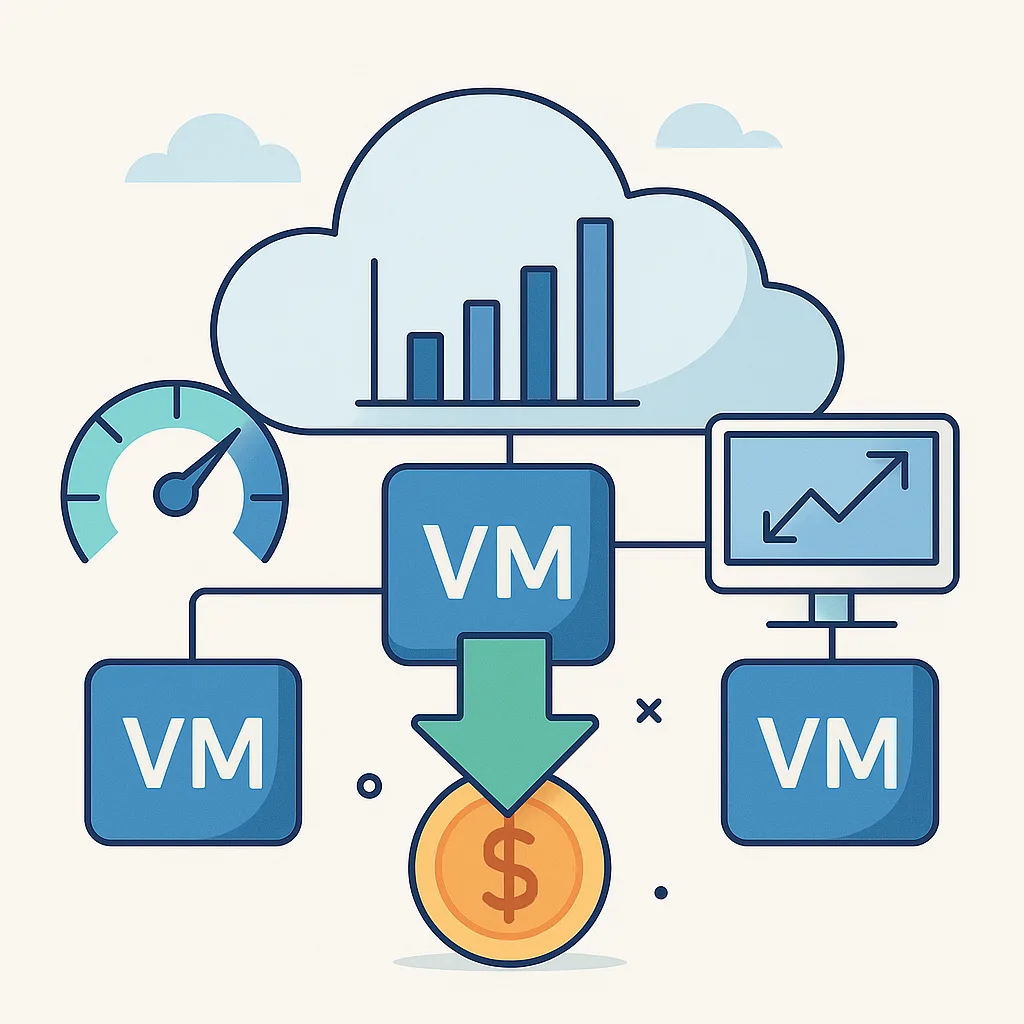
Cloud platforms like AWS, Azure, and Google Cloud offer unmatched scalability, but they also come with a catch: overprovisioned resources can quietly inflate your monthly bill. The key to efficient cloud spending lies in ongoing monitoring and right-sizing of virtual machines (VMs).
This article explores practical strategies to identify underused VMs, fine-tune resource allocation, and monitor performance without compromising your systems. Whether you’re running a single workload or managing an enterprise cloud environment, these tips can help you optimize for cost without sacrificing performance.
What is VM Right-Sizing?
Right-sizing refers to the process of adjusting a virtual machine’s CPU, memory, and storage allocation to match its actual workload requirements. The goal is to ensure that you’re not paying for more compute power than you actually use.
When done properly, right-sizing:
- Reduces unnecessary cloud spend
- Improves system efficiency
- Frees up resources for other workloads
- Helps avoid performance bottlenecks due to over/under provisioning
Step 1: Monitor Usage Continuously
Before you can right-size anything, you need visibility into real-world usage patterns. Here’s what to monitor:
Key Metrics:
- CPU utilization (%) – Are VMs consistently under 20% or peaking above 80%?
- Memory usage – Is RAM barely being used, or is it always near capacity?
- Disk IOPS and throughput – Critical for database or storage-intensive apps.
- Network traffic – Especially relevant for load-balanced or public-facing services.
- Uptime patterns – Are VMs running 24/7 unnecessarily?
Best Practices:
- Monitor over a period of at least 30 days to capture peak and idle trends.
- Use aggregated averages and max values to balance performance with savings.
- Include weekends and holidays in your analysis—many VMs are idle then.
Step 2: Identify Underutilized VMs
Look for VMs with:
- Consistently low CPU (under 15–20%) and RAM usage (under 30%)
- Long-running workloads with low disk/network activity
- VMs sized for scale but running small, predictable tasks
- Test/dev environments left running outside work hours
These are prime candidates for right-sizing or termination.
Step 3: Choose the Right VM Size
Cloud providers offer a variety of VM families (e.g., general-purpose, compute-optimized, memory-optimized). Consider:
- Downgrading size: Move from a D4 to D2 instance, for example
- Switching families: Move to a burstable instance for workloads with low, occasional spikes
- Autoscaling: Use scale sets or instance groups to grow/shrink based on demand
Use your monitoring data to match the workload to a VM profile that fits 70–80% of its peak usage, not the absolute max.
Step 4: Schedule Power-Down for Idle VMs
For environments like dev/test/staging or PoC:
- Automate shutdown during off-hours (e.g., nights and weekends)
- Use serverless or container-based alternatives if runtime is short or intermittent
- Apply tags like “non-production” to make it easy to filter and act on them
Step 5: Clean Up Unused Disks, IPs, and Snapshots
Don’t forget:
- Detached disks still cost money even if the VM is deleted
- Reserved public IPs incur charges if not assigned
- Snapshots and backups can pile up quickly and consume storage unnecessarily
Automate cleanup using PowerShell, CLI scripts, or management rules where possible.
Step 6: Use Cost and Usage Alerts
Enable alerts when:
- A VM exceeds a usage threshold (to avoid performance issues)
- A VM falls below a utilization threshold for a prolonged period
- Your spend on a specific service or region crosses a budgeted limit
Set alerts to email or trigger remediation actions, such as scaling down or tagging for review.
Step 7: Implement Tagging for Cost Tracking
Use tags like:
Environment: Production/Dev/TestOwner: TeamNameCostCenter: Finance/IT/MarketingShutdown: AutoOff-7PM
This helps attribute costs accurately, track usage, and automate resource governance.
Advanced Tips
- Use Reserved Instances (RI) or Savings Plans for always-on workloads, but only after right-sizing to avoid locking in oversized configurations.
- For stateless applications, consider auto-scaling and serverless compute models (e.g., Functions, Lambda).
- Run monthly optimization reviews as workloads evolve.
- Implement Infrastructure as Code (IaC) to define and manage scalable, right-sized deployments from the start.
Common Mistakes to Avoid
- Sizing for peak without scaling options
- Ignoring hidden costs (like unused storage or bandwidth overages)
- Treating all workloads the same
- Assuming initial sizing is “set and forget”
- Overengineering test/dev environments
Conclusion
Cloud cost optimization is an ongoing process, not a one-time task. With the right monitoring tools and proactive right-sizing strategies, you can slash unnecessary expenses, keep your cloud environment lean, and still maintain optimal performance. The most cost-effective cloud deployments are those that evolve based on real data—not guesswork.