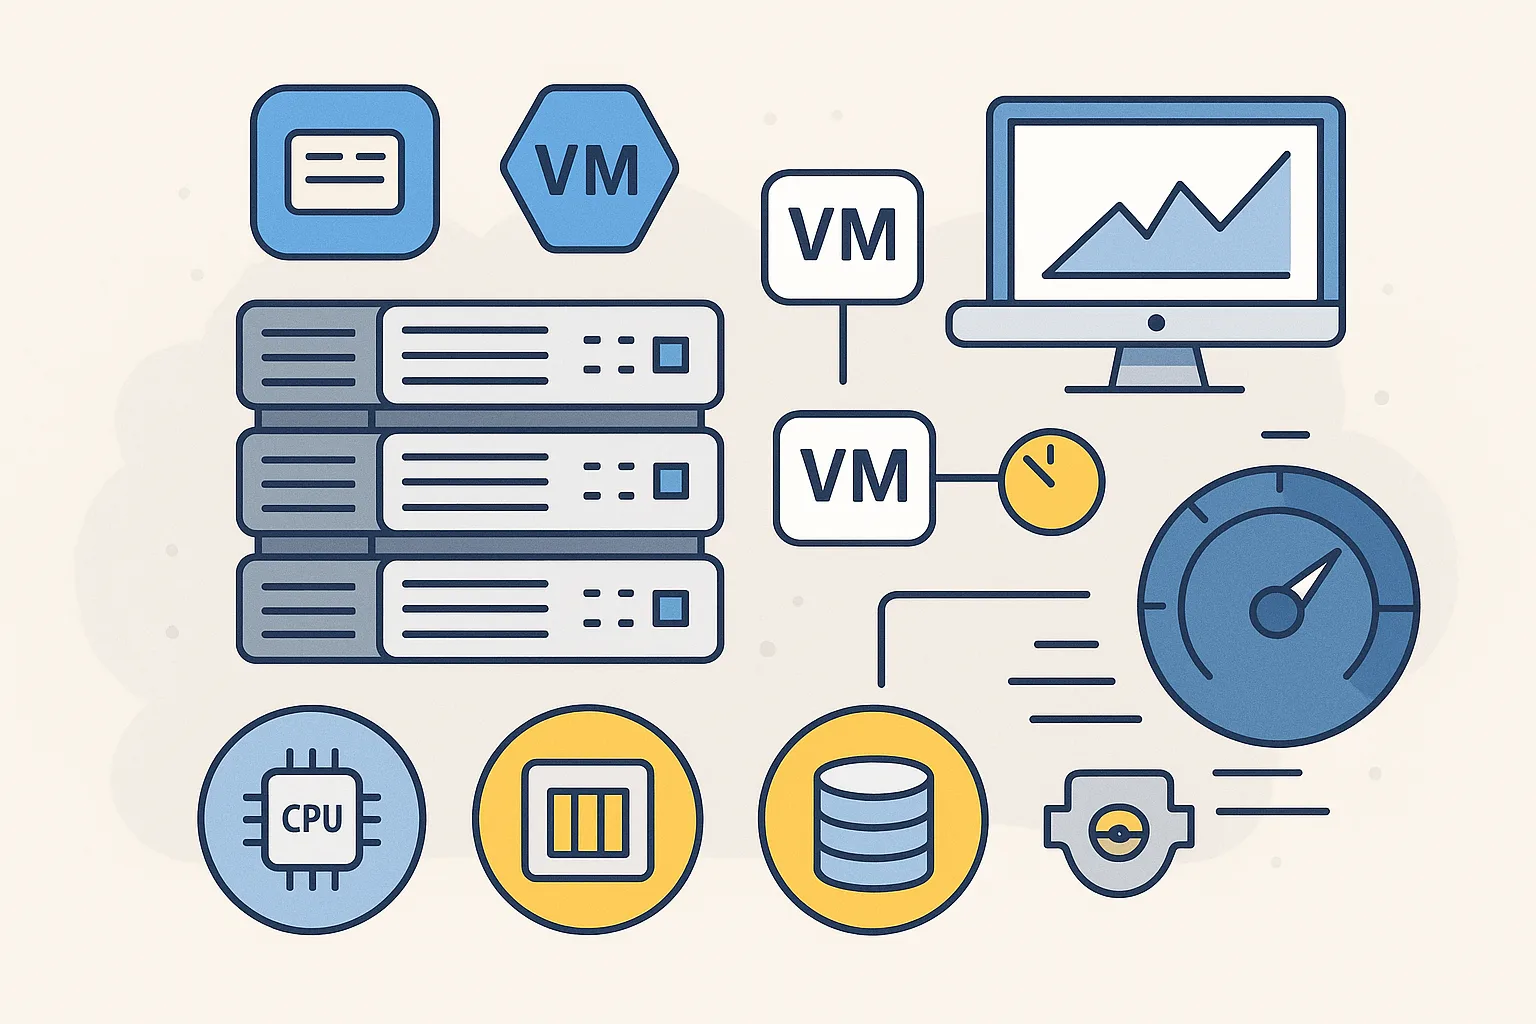
Whether you’re managing a production data center or a private cloud, virtualization performance tuning is often overlooked once a cluster is up and running. But hidden settings in both VMware and Hyper-V can make a big difference in resource efficiency, VM responsiveness, and overall system stability.
In this guide, we’ll walk through lesser-known but critical performance optimization techniques for VMware vSphere and Microsoft Hyper-V clusters—so you can ensure you’re getting the most out of your hardware.
Why Optimization Matters
Poor performance in virtual environments can stem from:
- CPU scheduling delays
- Inefficient memory management
- Improper NUMA configurations
- Sub-optimal storage settings
- Misaligned power and BIOS settings
These issues are subtle but impactful—especially in densely virtualized clusters.
Section 1: Optimizing VMware vSphere Clusters
1. Enable CPU Hot Add/Remove Judiciously
While CPU hot-add is convenient, it disables vNUMA optimizations, potentially hurting performance for large workloads.
Tip:
- Avoid enabling CPU hot-add for VMs with more than one vCPU unless absolutely needed.
2. Use vNUMA-Aware Configurations
For VMs with 8+ vCPUs, ensure they are vNUMA-aware to align with physical NUMA nodes.
Best Practice:
- Match VM CPU and memory topology with the host’s NUMA configuration.
- Monitor with esxtop or vSphere performance charts.
3. Disable Unused Devices in VM Settings
Remove unused virtual devices like floppy drives, COM ports, or CD-ROMs. They can cause unnecessary I/O polling or delays during boot.
4. Set VM Tools to Synchronize Time Correctly
Multiple time sources can create drift. Choose either VMware Tools or NTP—but not both—inside the guest OS.
5. Use Storage I/O Control (SIOC)
SIOC helps prevent a noisy neighbor VM from hogging disk I/O.
Tip:
- Enable SIOC per datastore.
- Set VM-level I/O shares and limits based on workload priority.
6. Tune Power Management in BIOS and vSphere
- Set host BIOS to Performance Mode (not Balanced).
- Set vSphere Power Policy to High Performance under host settings.
7. Enable Hardware-Assisted MMU (EPT)
Ensure Extended Page Tables (EPT) or RVI is enabled in BIOS. This drastically improves performance for memory-intensive workloads.
Section 2: Optimizing Hyper-V Clusters
1. Enable Dynamic Memory with Caution
Dynamic Memory works best with predictable workloads. For high-performance or latency-sensitive workloads, consider fixed memory allocations.
2. Disable Time Synchronization for Domain Controllers
Hyper-V Integration Services can conflict with domain time sync.
Tip:
- For domain controllers, disable Hyper-V time sync and rely on domain hierarchy time sources.
3. Optimize VM Storage Paths
Use VHDX format with dynamic resizing disabled for critical VMs. Also:
- Enable write caching on storage if supported
- Use dedicated virtual SCSI controllers for heavy disk I/O workloads
4. Use NUMA Spanning Only When Necessary
By default, Hyper-V allows VMs to span NUMA nodes. While it increases memory capacity, it can hurt performance.
Recommendation:
- Disable NUMA spanning for performance-sensitive workloads
- Set affinity manually if possible
5. Set Hyper-V Host Power Profile to High Performance
The “Balanced” plan may throttle CPUs. Change host-level Windows power settings:
powercfg -setactive SCHEME_MIN
6. Monitor for Synthetic Device Overhead
- Use synthetic NICs over legacy NICs for better performance
- Install the latest Integration Services if you’re not on Windows Server 2016+
Section 3: Shared Best Practices for Both Platforms
1. Align VMs with Storage and Network Queues
- Use multiple VMXNET3/NIC adapters or SCSI controllers for I/O-heavy apps
- Balance storage traffic across multiple paths (MPIO)
- Monitor for queue depth saturation using host-level tools
2. Schedule Performance Benchmarks Periodically
Run synthetic workloads to detect:
- CPU Ready time
- IOPS caps
- Bandwidth bottlenecks
- Memory swapping or ballooning
3. Use Host-Level Monitoring Tools
- VMware: esxtop, vRealize
- Hyper-V: Performance Monitor, Resource Monitor, PowerShell cmdlets
Focus on:
- CPU Ready %
- Memory ballooning/swapping
- Disk latency
- VMQueue status
4. Keep BIOS, Firmware, and Hypervisor Updated
Performance bugs are often resolved in microcode and hypervisor patches. Ensure:
- CPU microcode updates
- NIC and HBA firmware are up-to-date
- VMware Tools / Hyper-V Integration Services are current
Conclusion
Small misconfigurations in virtualization environments can lead to wasted resources and underperforming VMs. By unlocking these hidden settings and aligning your VMware or Hyper-V clusters with performance best practices, you’ll gain more out of your existing infrastructure without expensive hardware upgrades.
Remember—virtual performance tuning isn’t about guessing—it’s about measuring, adjusting, and monitoring continuously.


