

If you work in IT, systems administration, or cybersecurity, you’ve likely come across cURL—a versatile command-line tool used for transferring data across networks. Traditionally used in Linux and macOS, cURL has also become popular among Windows administrators.
In PowerShell, the curl command is available but behaves a little differently than in Linux. This article will walk you through how cURL works in PowerShell, its quirks, and practical examples you can use right away.
What Is cURL?
cURL (Client URL) is a command-line tool for making requests to URLs. It supports multiple protocols, including:
- HTTP/HTTPS
- FTP
- SFTP
- SCP
- LDAP
- SMTP
It’s commonly used to:
- Test APIs
- Download/upload files
- Debug web requests
- Automate system scripts
Does PowerShell Have cURL?
Yes—but with a twist. In Windows PowerShell and PowerShell Core:
- Typing
curlorwgetactually runsInvoke-WebRequest, not the traditional cURL binary. - If you install real cURL (for example, via Windows package manager or by downloading it), you’ll need to run it as
curl.exeto distinguish it from the PowerShell alias.
👉 Tip: To check what curl points to in your environment, run:
Get-Command curl
If it returns Invoke-WebRequest, you’re running PowerShell’s built-in alias.
Using cURL in PowerShell
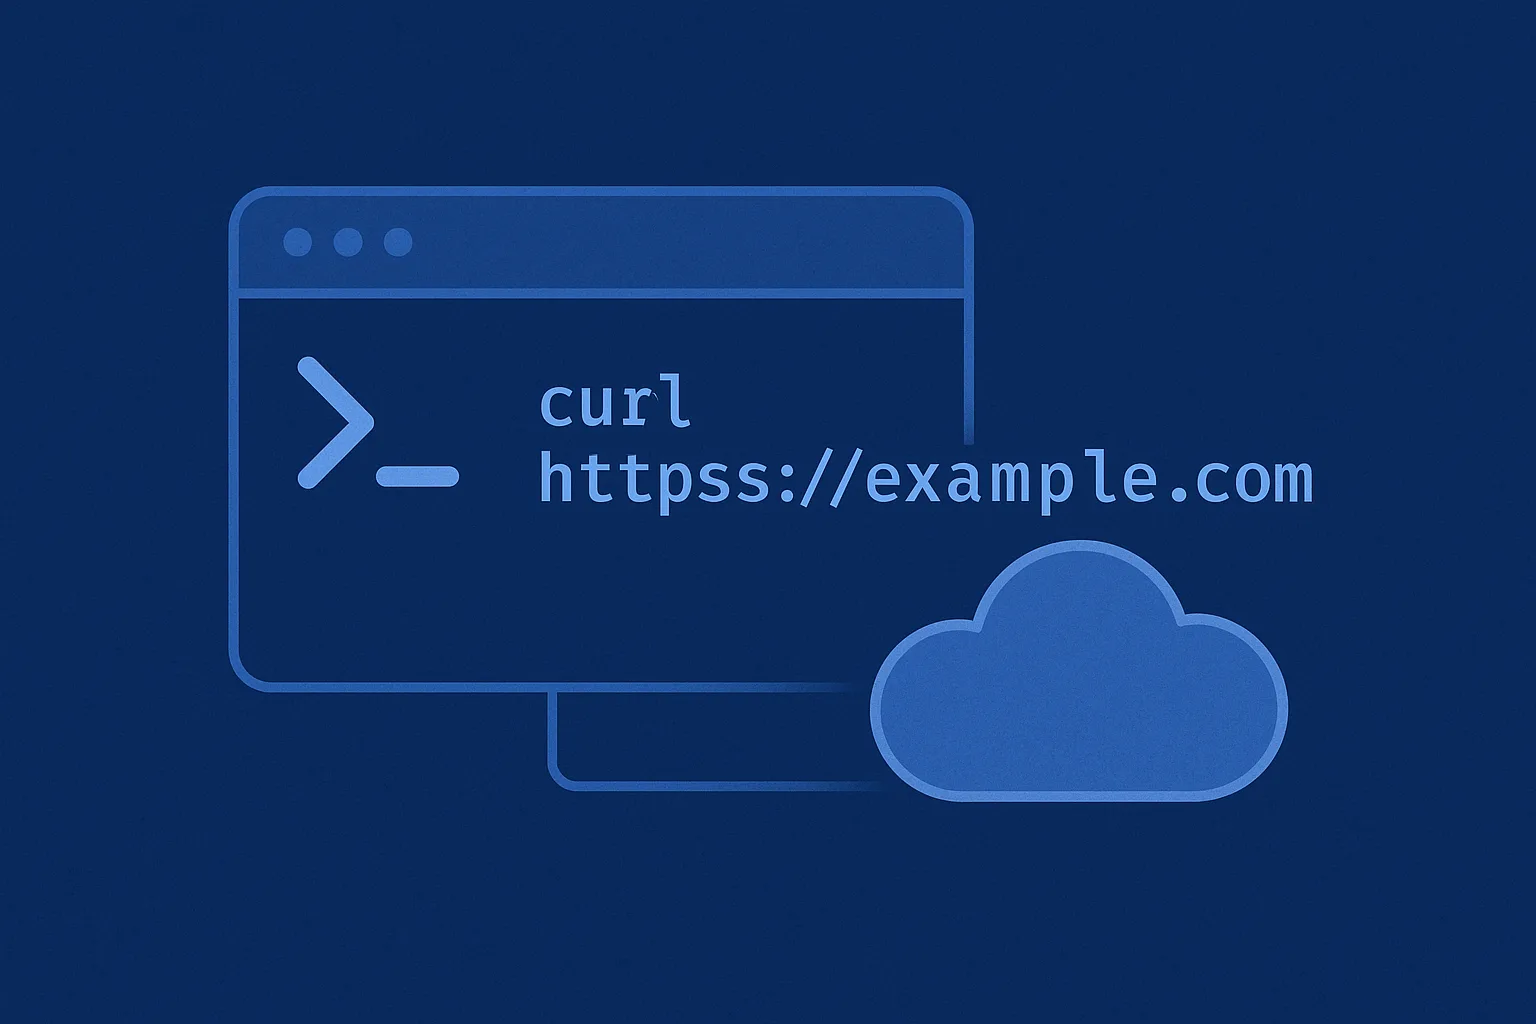
1. Basic Web Request
curl https://example.com
In PowerShell, this actually runs:
Invoke-WebRequest https://example.com
It retrieves the page content and returns structured data (headers, status code, raw HTML).
2. Downloading a File
curl https://example.com/file.zip -o file.zip
But in PowerShell, the equivalent is:
Invoke-WebRequest https://example.com/file.zip -OutFile file.zip
If you have the actual cURL binary installed, run:
curl.exe https://example.com/file.zip -o file.zip
3. Sending a POST Request
Using PowerShell alias:
curl -Method POST -Uri "https://api.example.com/login" -Body @{username="admin";password="1234"}
With cURL binary:
curl.exe -X POST -d "username=admin&password=1234" https://api.example.com/login
4. Working with JSON APIs
PowerShell:
curl -Uri "https://api.example.com/data" -Headers @{Authorization="Bearer TOKEN"} | ConvertFrom-Json
cURL binary:
curl.exe -H "Authorization: Bearer TOKEN" https://api.example.com/data
5. Uploading Files
PowerShell method:
Invoke-WebRequest -Uri "https://api.example.com/upload" -Method Post -InFile "C:\temp\file.txt" -ContentType "multipart/form-data"
cURL binary:
curl.exe -F "file=@C:\temp\file.txt" https://api.example.com/upload
When to Use PowerShell vs. cURL Binary
- Use PowerShell’s Invoke-WebRequest/Invoke-RestMethod for structured objects and easy JSON handling.
- Use cURL (curl.exe) when you need compatibility with Linux-style scripts, or when following tutorials that assume the standard cURL syntax.
Best Practices
- Always specify
curl.exewhen you want the actual cURL tool. - Use
Invoke-RestMethodfor APIs, as it automatically converts JSON responses. - Store authentication tokens securely in PowerShell variables instead of hardcoding them.
- Combine with scripts for automation (e.g., nightly downloads, health checks).
Conclusion
cURL in PowerShell can be slightly confusing due to aliasing, but once you know the difference, you gain the best of both worlds:
- PowerShell’s Invoke-WebRequest for object-oriented handling
- Traditional cURL for cross-platform scripting and API testing
With these commands and best practices, you can confidently use cURL in PowerShell for file transfers, API requests, and automation tasks.