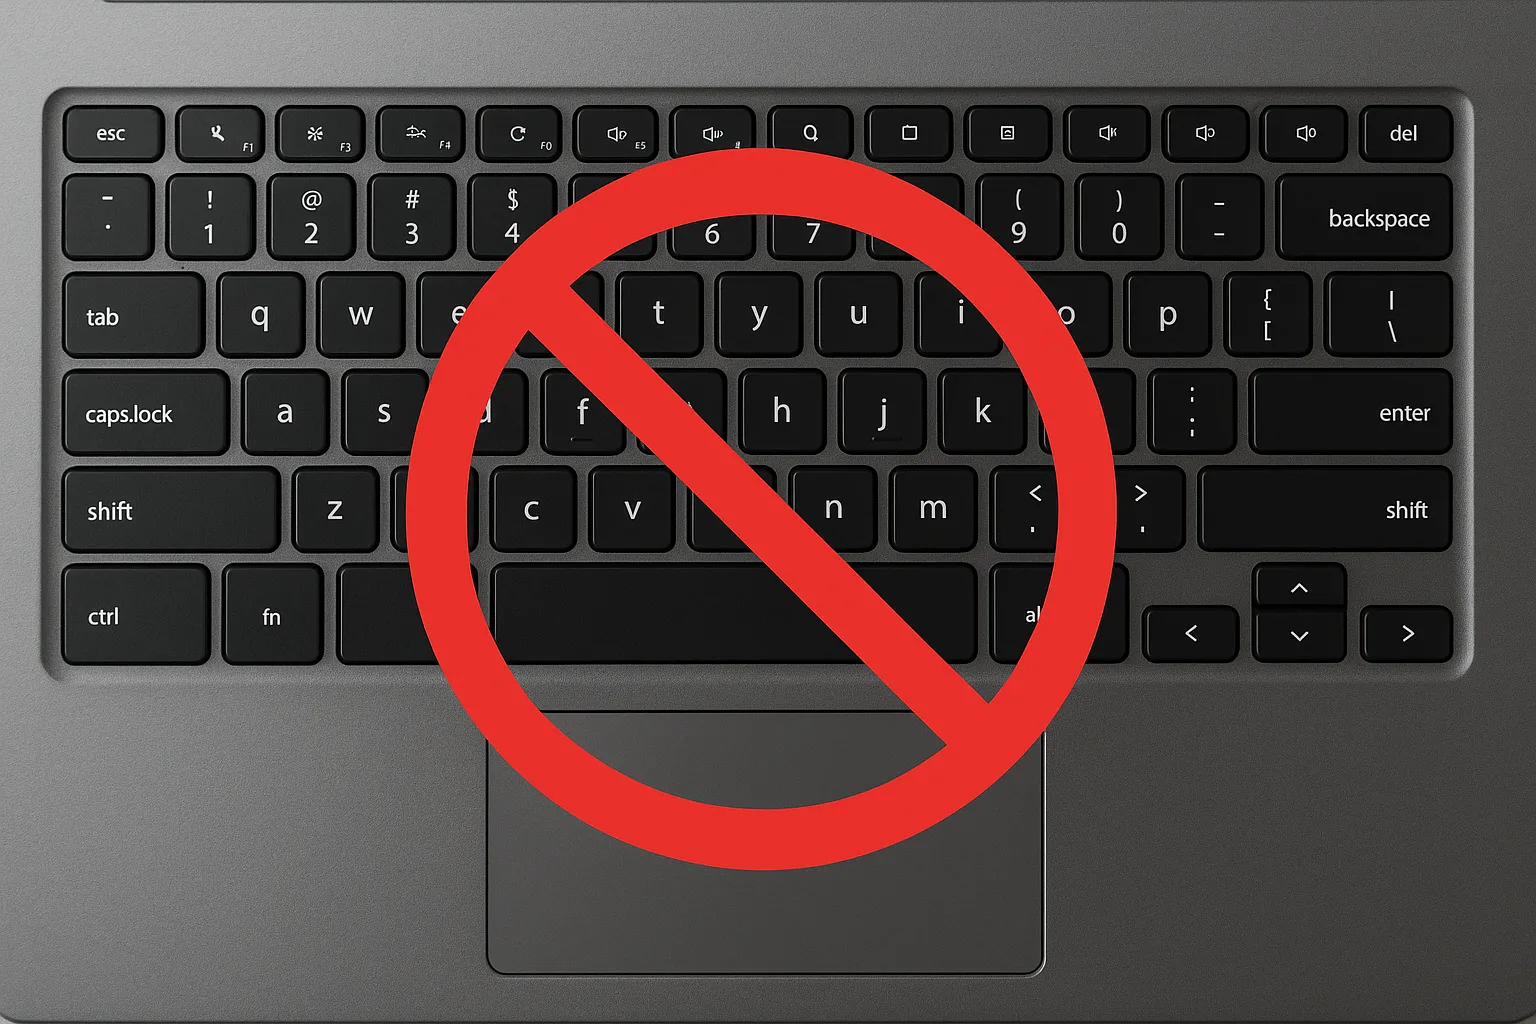
Disabling a laptop keyboard can be necessary for several reasons. Whether you’re replacing a faulty keyboard, using an external keyboard, or preventing accidental key presses during maintenance, there are several methods you can use depending on your system configuration.
In this guide, we walk you through the most effective ways to disable your laptop keyboard on a Windows system.
Method 1: Disable via Device Manager
Step 1: Open Device Manager
- Press
Win + Xand select Device Manager from the list.
Step 2: Locate the Keyboard
- Expand the Keyboards section.
- Identify your laptop’s built-in keyboard (usually labeled as “Standard PS/2 Keyboard”).
Step 3: Disable the Device
- Right-click the keyboard entry and select Disable device.
- If “Disable device” is not available, you may only see the option to Uninstall device.

Step 4: Confirm Your Choice
- Confirm any prompts that appear.
- Restart your laptop to complete the process.
Note: Windows may attempt to reinstall the keyboard driver upon reboot. See Method 2 to prevent this.
Method 2: Use Group Policy or Third-Party Tools to Block Reinstallation
To ensure the keyboard remains disabled even after a reboot:
- Uninstall the keyboard driver using Device Manager.
- Use Group Policy Editor to prevent driver installation (Pro editions only):
- Press
Win + R, typegpedit.msc, and press Enter. - Navigate to Computer Configuration > Administrative Templates > System > Device Installation > Device Installation Restrictions.
- Enable “Prevent installation of devices that match any of these device IDs” and add your keyboard’s hardware ID.
- Press
Alternatively, third-party tools like driver blockers can achieve the same result.
Method 3: Disable in BIOS/UEFI (If Available)
Some BIOS or UEFI firmware allows you to disable the integrated keyboard:
Step 1: Enter BIOS/UEFI Setup
- Restart your laptop and press the required key (usually
F2,DEL, orESC) during boot-up.
Step 2: Look for Keyboard Settings
- Browse through Advanced or Peripheral Configuration sections.
- If an option exists to disable the internal keyboard, select it and save changes.
Note: BIOS options vary greatly depending on the manufacturer.
Method 4: Disabling the Keyboard via the Command Prompt
If you don’t want the inconvenience of opening the Device Manager to disable the keyboard every time you turn on your laptop, don’t worry. You can disable the keyboard permanently using the Command Prompt.
Here are the steps:
- Tap the Windows icon in the bottom left corner and type “cmd” in the search bar.

- Select “Run as administrator” under “Command Prompt.”

- Click “Yes” to confirm that you’re okay with the Command Prompt app making changes to your computer.

- Once the Command Prompt window opens, type the following command line, and then hit Enter:
sc config i8042prt start= disabled
- Close the Command Prompt and restart your laptop.
Please note that for this to work, first, you need to disable the keyboard via the Device Manager, as discussed above. The command line executed stops Windows from automatically reenabling the keyboard when you restart your laptop.
If you ever want to reenable the keyboard in the future, you just need to run the Command Prompt app and enter the following command:
sc config i8042prt start= auto
Method 5: Use External Tools or Scripts
Advanced users can create custom scripts or use third-party utilities to disable the keyboard temporarily:
- Use PowerShell or Command Prompt with administrative privileges to modify registry entries or stop keyboard services.
- Caution is advised as incorrect changes can affect system stability.
Final Thoughts
Disabling a laptop keyboard can be straightforward if you follow the correct method for your system. For temporary disabling, Device Manager works well. For a more permanent solution, using Group Policy or BIOS settings can be more effective.
Always ensure you have an external keyboard connected and ready before disabling your built-in keyboard to avoid being locked out of your system.


